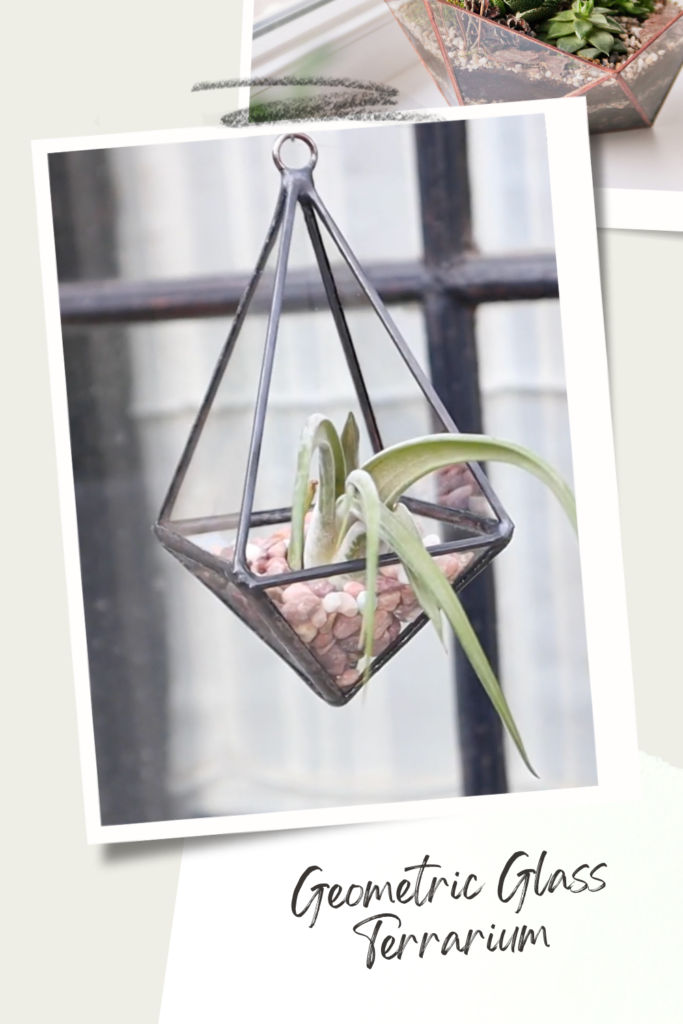
How to Make a Geometric Glass Terrarium
“Your morning alarm rings, introducing the start of a new day. You see the morning sun peeking into your room. However, it doesn’t feel as lively as it should be. You feel like you are enclosed in fall walls with no plants nor animals around. You start to wonder what you could do to improve this, but nothing rings a bell.” Wouldn’t it be nice if you had a geometric glass terrarium next to you?
Well, indeed, some of you have experienced this before, right? This is where we introduce Terrariums to you. If you are unaware of what a terrarium is, it is usually a sealable glass container that contains soil and plants. Some might resemble it to an aquarium; just leave the water out of it, that is. You are usually able to access the terrarium through the sliding glass door or an open up lit. Of course, there are terrariums that can be displayed in the open, however here specifically, we will talk about making a geometric glass terrarium instead.
So, how do we make a Geometric Glass Terrarium?
This article will explain or discuss:
- What items you need to make your own geometric glass terrarium
- Small or large glass terrarium
- Should you be placing the terrarium on a flat surface or hanging them>
Materials to Prepare
Always make a list of what materials you should prepare for you to make your geometric glass terrarium. If this is your first attempt making one and you are entirely clueless, here are some basic items you can consider preparing.
- Wire/Wood
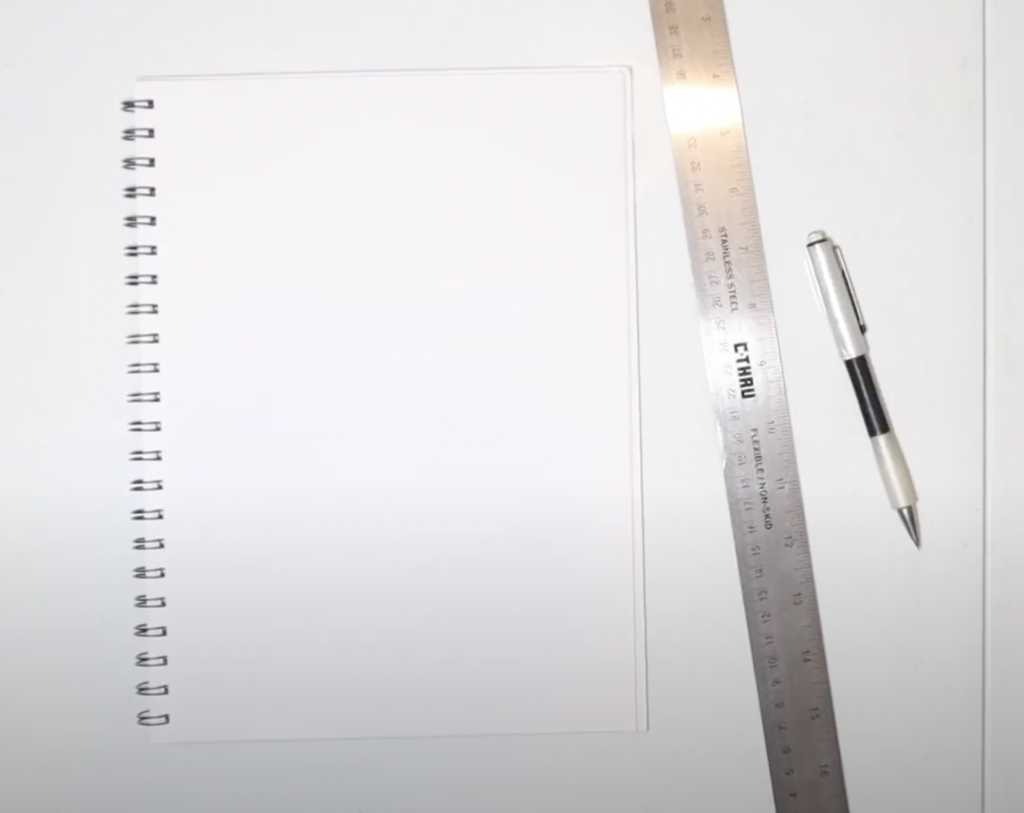
Designing
One of the most essential parts of making a terrarium that should not be neglected is the design of it. Failing to do so may cause you to either have crappy work or could even mess up in the process. It is recommended that you draw the design on a piece of paper or on a notebook. Only then do you prepare the materials for constructing your geometric glass terrarium.
There are many ways you could design your terrarium. If you are looking for something less complicated, it is best to stick with square and rectangular shapes. Let’s say you aren’t a beginner and are willing to take things to the next level. If that’s the case, we would suggest going for a polygonal or pyramid shape.
Sometimes what you draw may not be accurate, and the results may differ from what you’ve imagined. In this case, the only advice which we are able to give you is to invest in 3D modelling software such as Sketch-up or 3Dmax. Once you’ve finished the design of your model, it’s time to make it.
Getting Started
Now that you’ve designed your masterpiece, it’s time actually to make it. If you’ve designed your sketch on a paper, trace our shape onto the glass, which is already prepared. If you are using a 3D modelling application instead, print the design on a piece of paper. You want to make sure to trace the shapes precisely. Any small mistakes may cause your entire terrarium. One little tip to save cost is by drawing the shapes as close as possible to each other on the glass.
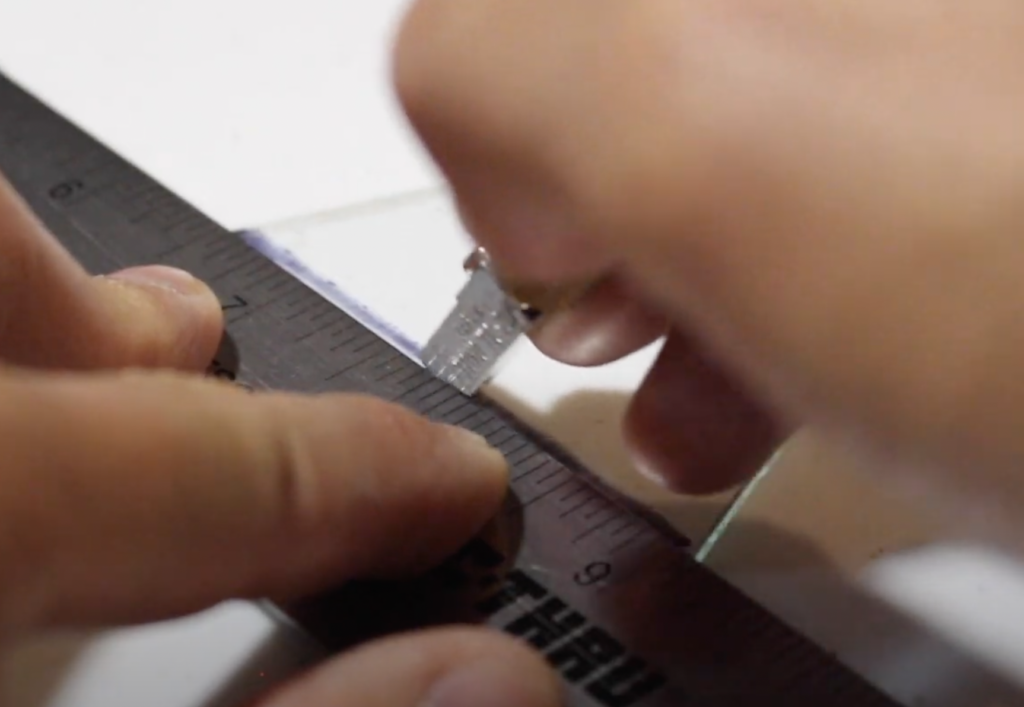
Once that is completed, take the glass cutter and ruler which you have prepared to cut the shapes which you’ve drawn. The patterns should be sharp and precise to prevent any corners from poking out. Due to the lack of professional equipment used, the already cut glass will have rough edges and sides. This is where sandpaper comes into place. Hold the cut glass and consistently rub it against the sandpaper until it is smooth. If there are any indications of roughness, it means that you should continue sanding it. Repeat this process for all of your cut glass.
Constructing
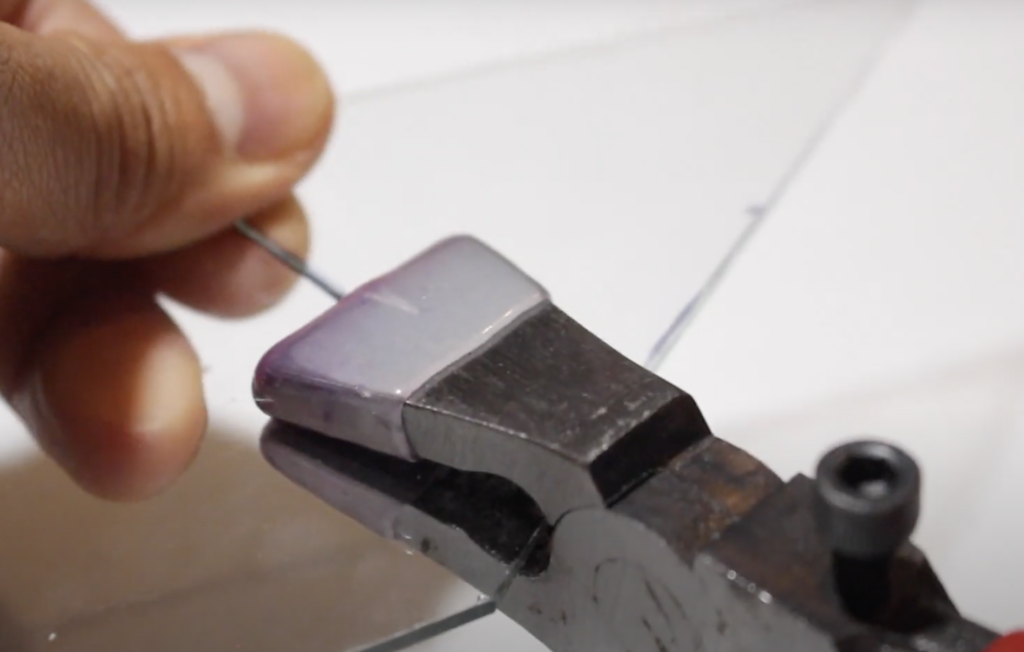
Obviously, we can’t assume you to purchase solid metal to make the geometric glass terrarium. Hence, another way to achieve a metallic look for it is by using wires. Wires are soft metals that can be bent and shaped easily. If you feel it is too cheap, you can consider going for wood instead. However, do bear in mind that you would need to put in extra effort by cutting the wood in even sizes and sanding it again. This can be rather hellish to some people.
However, considering that you are going for wires, shape the wire into the cut glass. The best way to do this is by bending it accordingly to the side of your glass. Of course, this wouldn’t allow the wires to hold themselves in position. Hence it would help if you used super glue to position it.
Now that all of your glass pieces are bordered, time to connect them up. In this case, Glue would be the best option as the density will cause it to collapse. Hence we suggest using a soldering iron to unify every piece together. This ensures that each part is connected correctly.
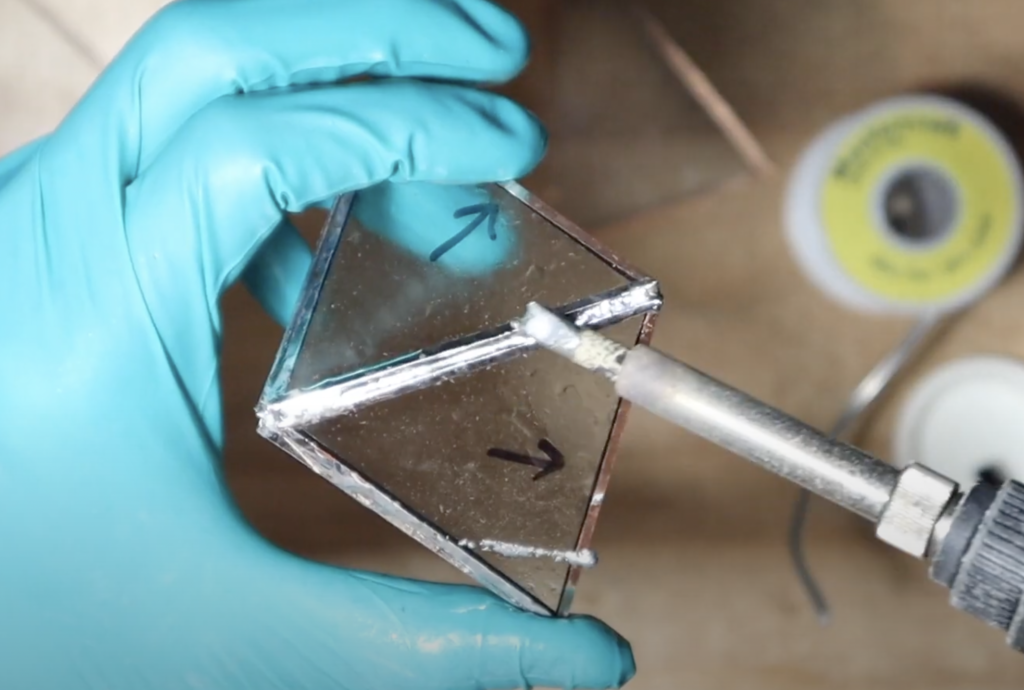
Of course, we wouldn’t just leave it like that, would we? I mean have a bumped out piece of iron may look horrible for your almost perfect geometric glass terrarium. Hence we suggest getting some gold paint or any paint if you prefer to coat the wires and iron soldering. This may be able to give it a more premier feeling. Complete this process until all sides are unified.
Note: Do leave the side open for air circulation to enter.
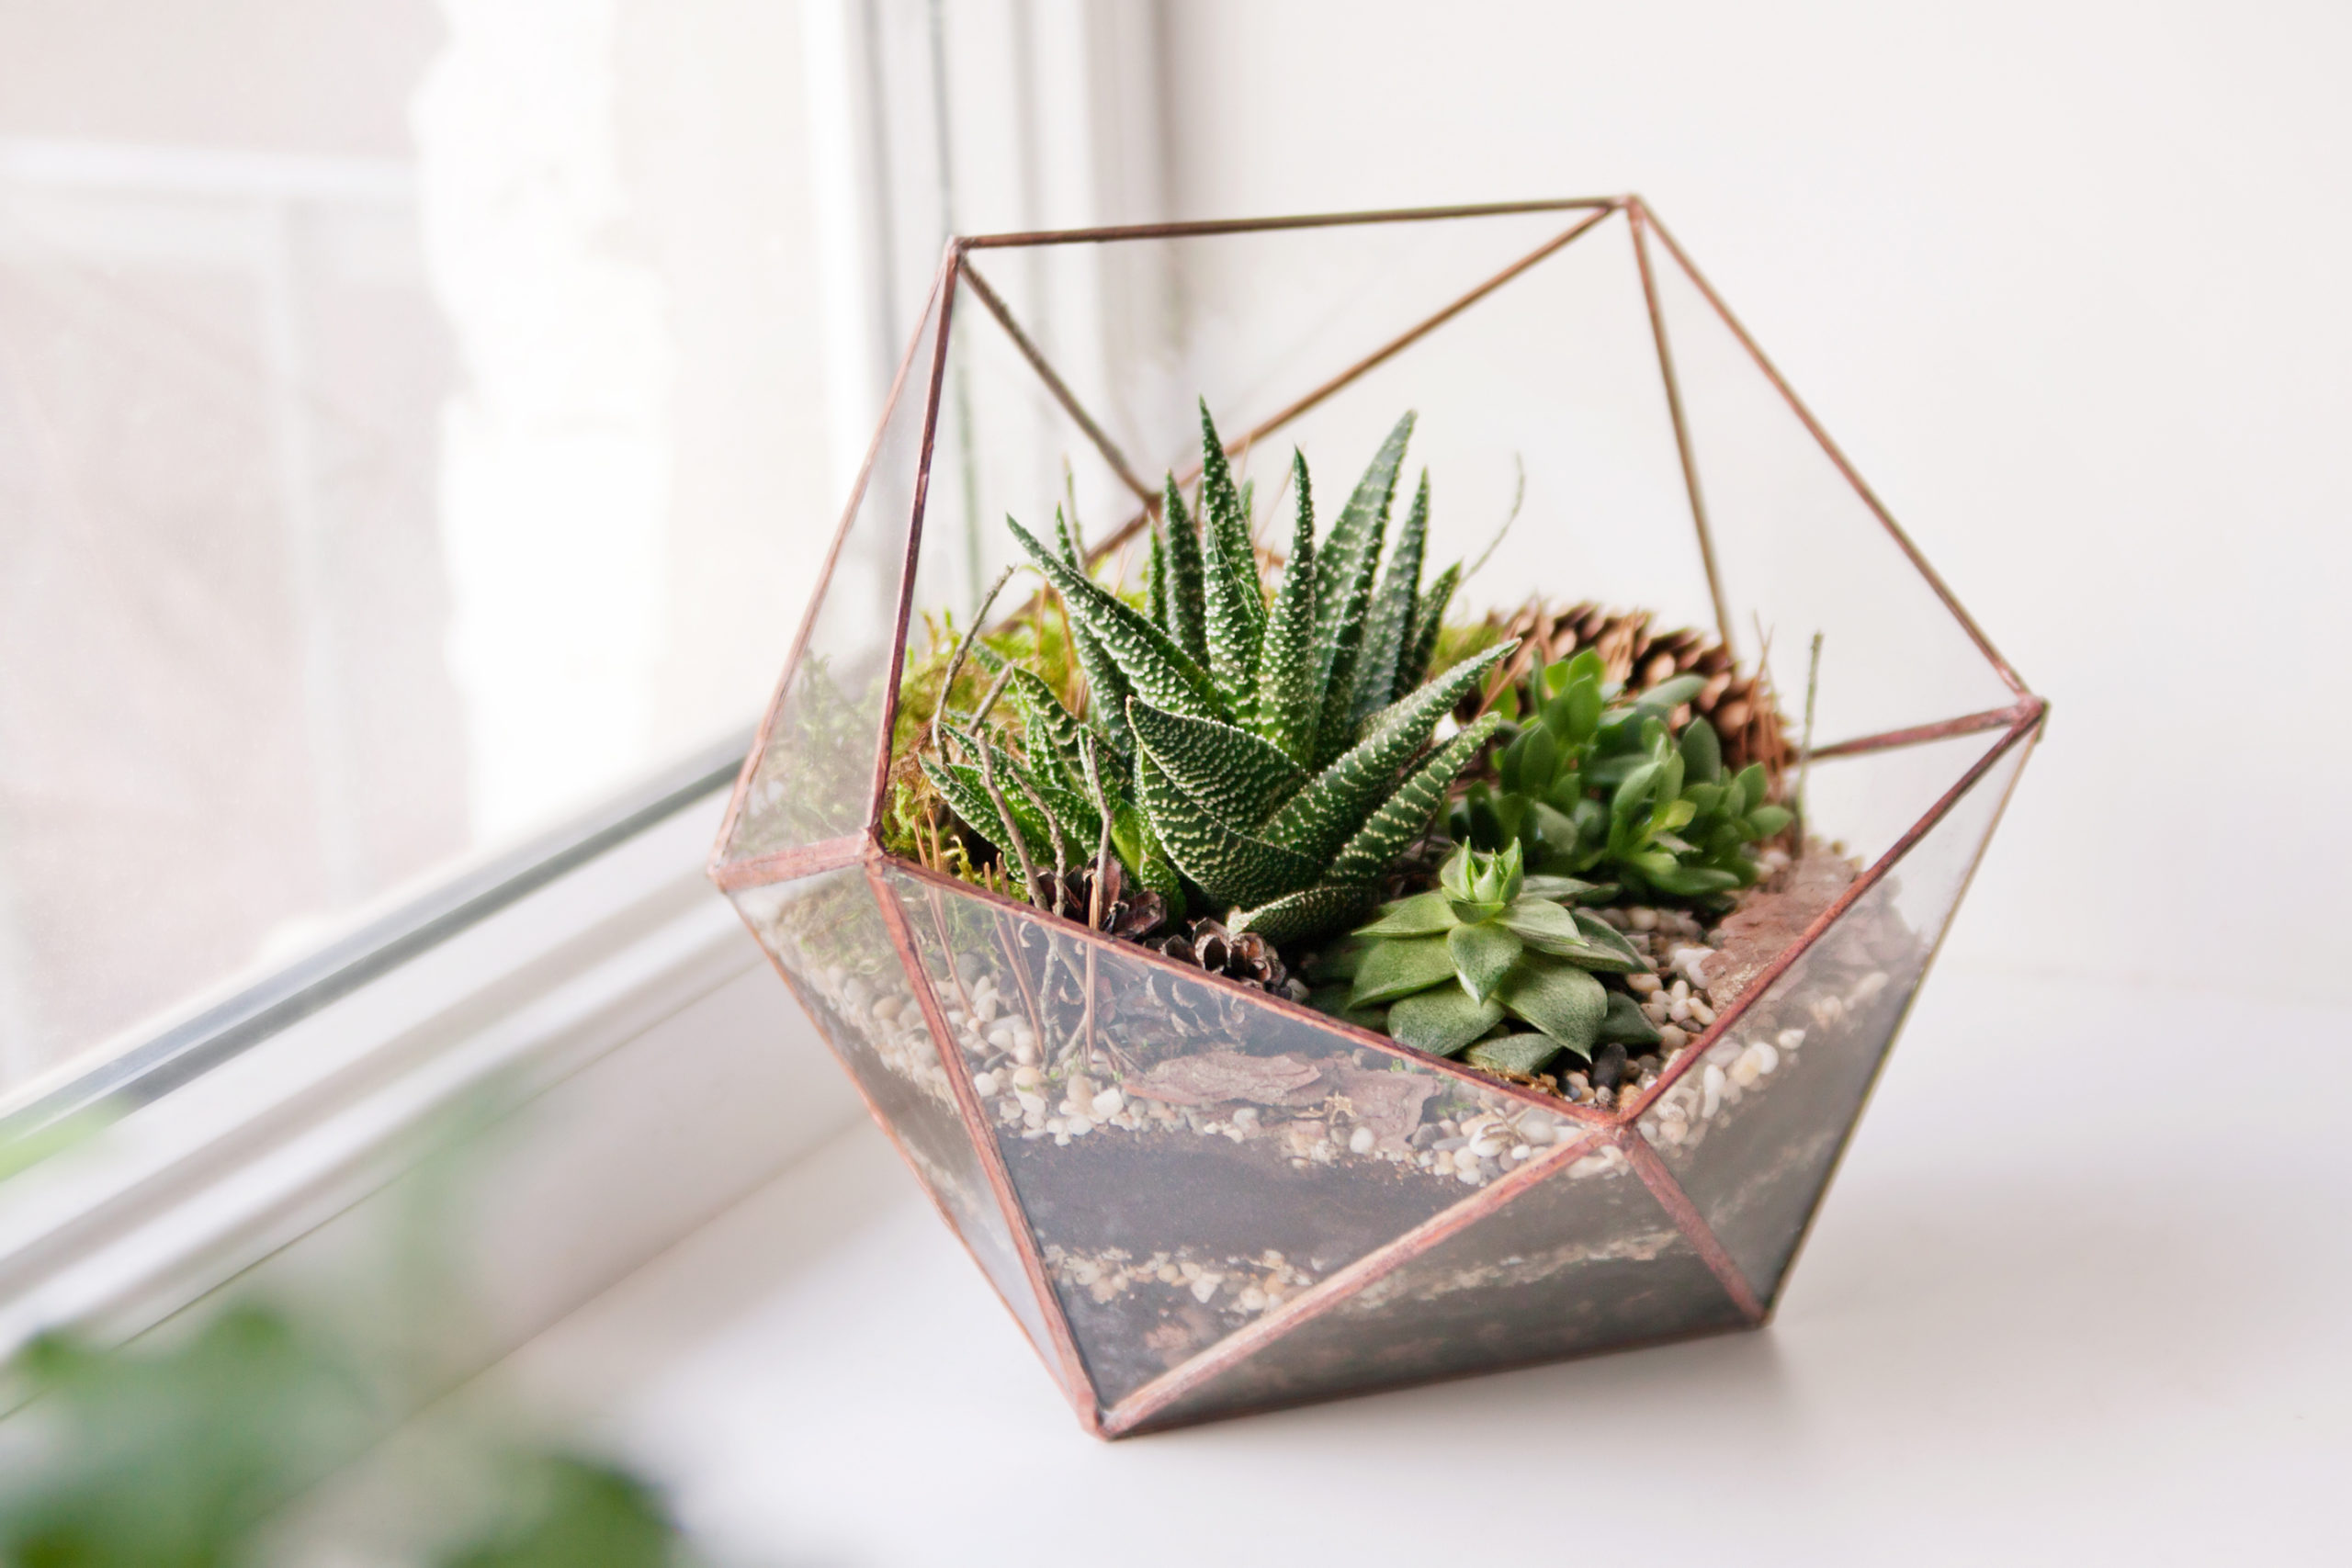
Decorating It
With all the hard work poured into the geometric glass terrarium, all there’s left is to put your plants inside of it. I mean, you could barely even call it a terrarium if it didn’t have any plants in it, to begin with. Choose something easy to maintain to reduce your burden. We recommend going to mosses or bonsais. You can get more creative with it by adding little miniature figures to it to portrait a miniature terrain. If anyone were to see it, I’m sure they would be impressed as well.
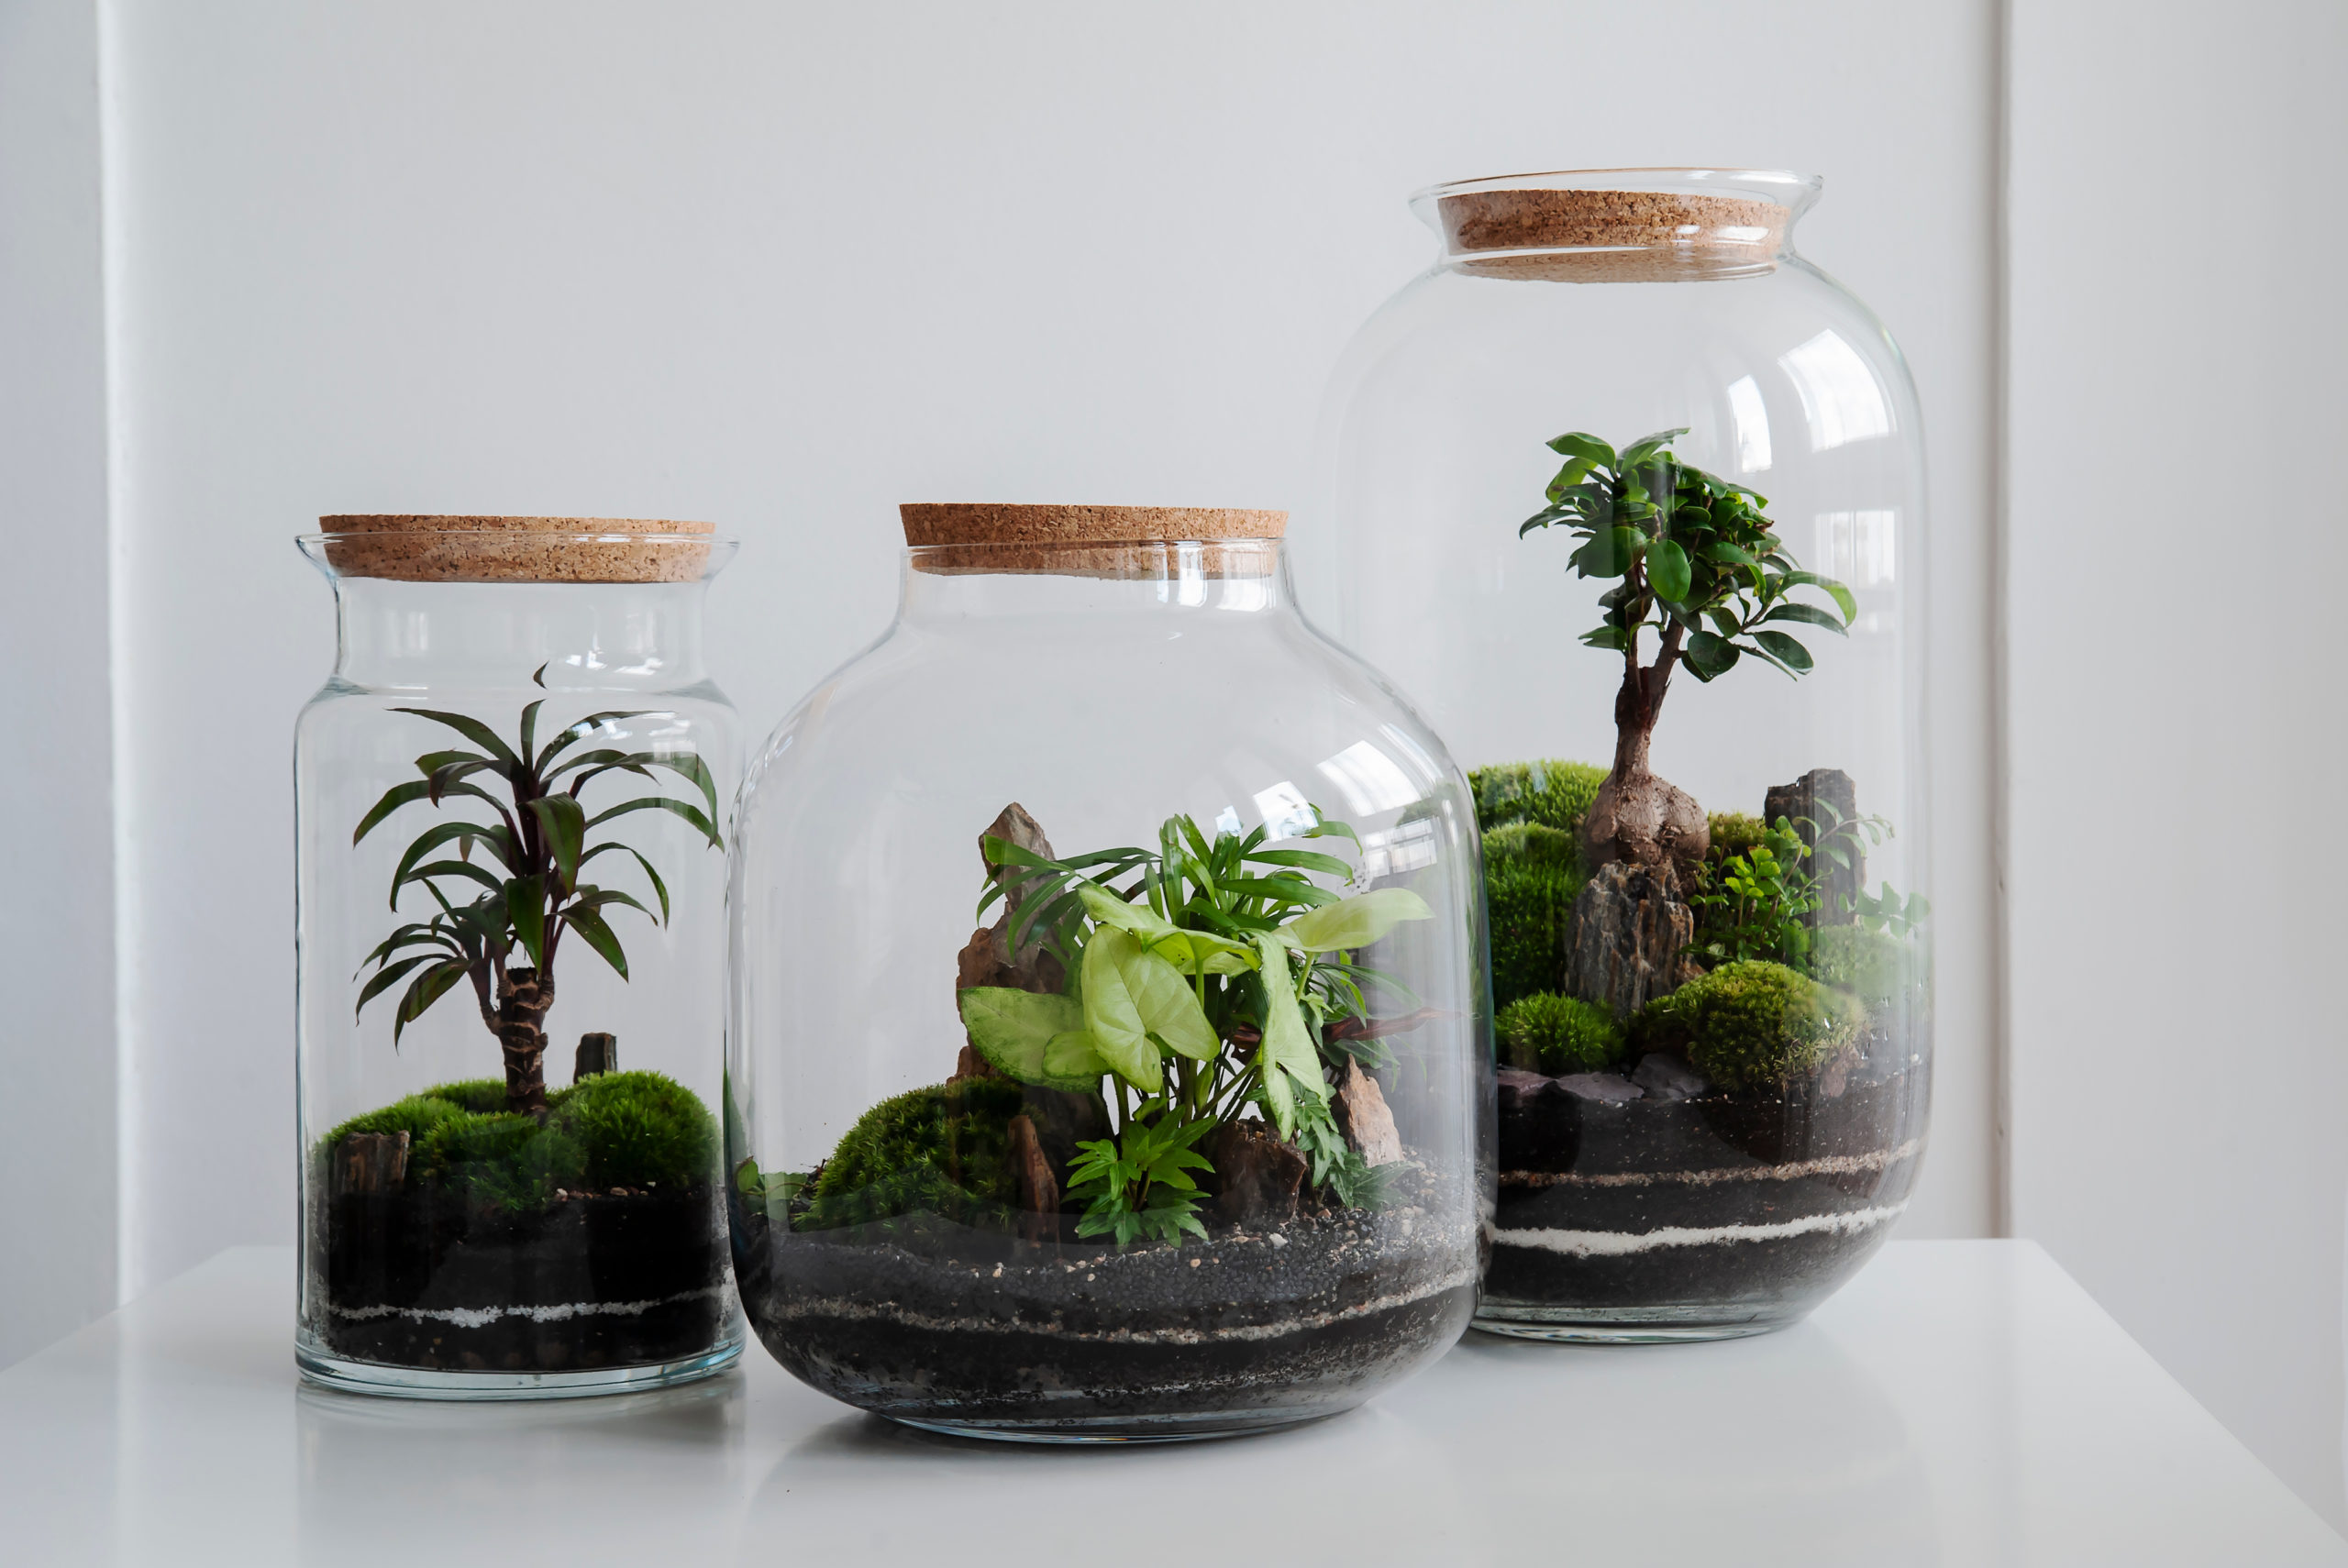
Large Glass Terrarium
Well, what we told you is the build for a smaller geometric glass terrarium. Maybe you’re thinking that a puny little geometric glass terrarium would be not much noticeable. Do you want to go for a larger glass terrarium? That can also be managed too. The only drawback about this is the amount of effort needed to put into it. Plus, certain materials described before will no longer be able to be of use.
A large glass Terrarium would require a bigger glass pane. This can be obtained at hardware stores as well, however, availability may vary. On the other hand, These materials will not come cheap as well.
Remember the wirefoams? Well, that would probably be useless now, since you are going to make a large glass terrarium. A large glass terrarium requires a much more sturdy material to hold it in place. In this case, we suggest using fine wood for it. Other than that, the rest is the same as previously mentioned.
Hanging Glass Terrarium
Now, this gets a little more tricker. When you compare a small geometric glass terrarium and a large geometric glass terrarium, they are practically the same thing, just in different sizes. Now, a hanging glass terrarium will be modifying them to allow them to hang from your ceiling.
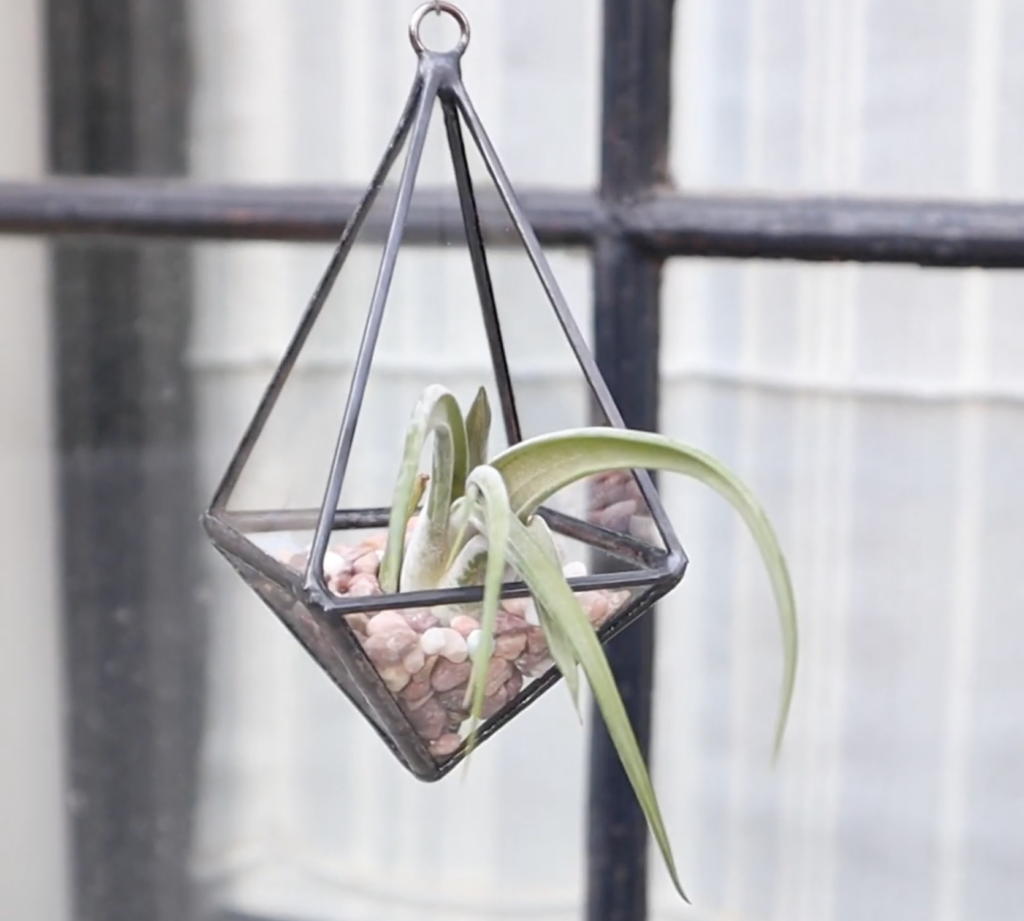
For this, it is best advised to use a smaller geometric glass terrarium. This is due to the amount of weight the attached hook is able to support. In order to attach a hook, you can consider ceiling the top with a flatter surface. We suggest using silicon as it is water-resistant and is not able to be destroyed easily. Once you’ve attached it, use super glue or soldering iron to hold it in place.
Note: this will be hanging down from the ceiling, hence it is important to make sure that enough tension is present on the hooks to hold the hanging geometric glass terrarium.
Conclusion
With that, we have basically covered up the necessary steps needed to make a geometric glass terrarium. Of course, you are free to venture into different shapes and materials. By all means, go for it. However, do remember that some equipment used in the making process may be harmful to you. Hence we suggest getting help if met upon any difficulty.